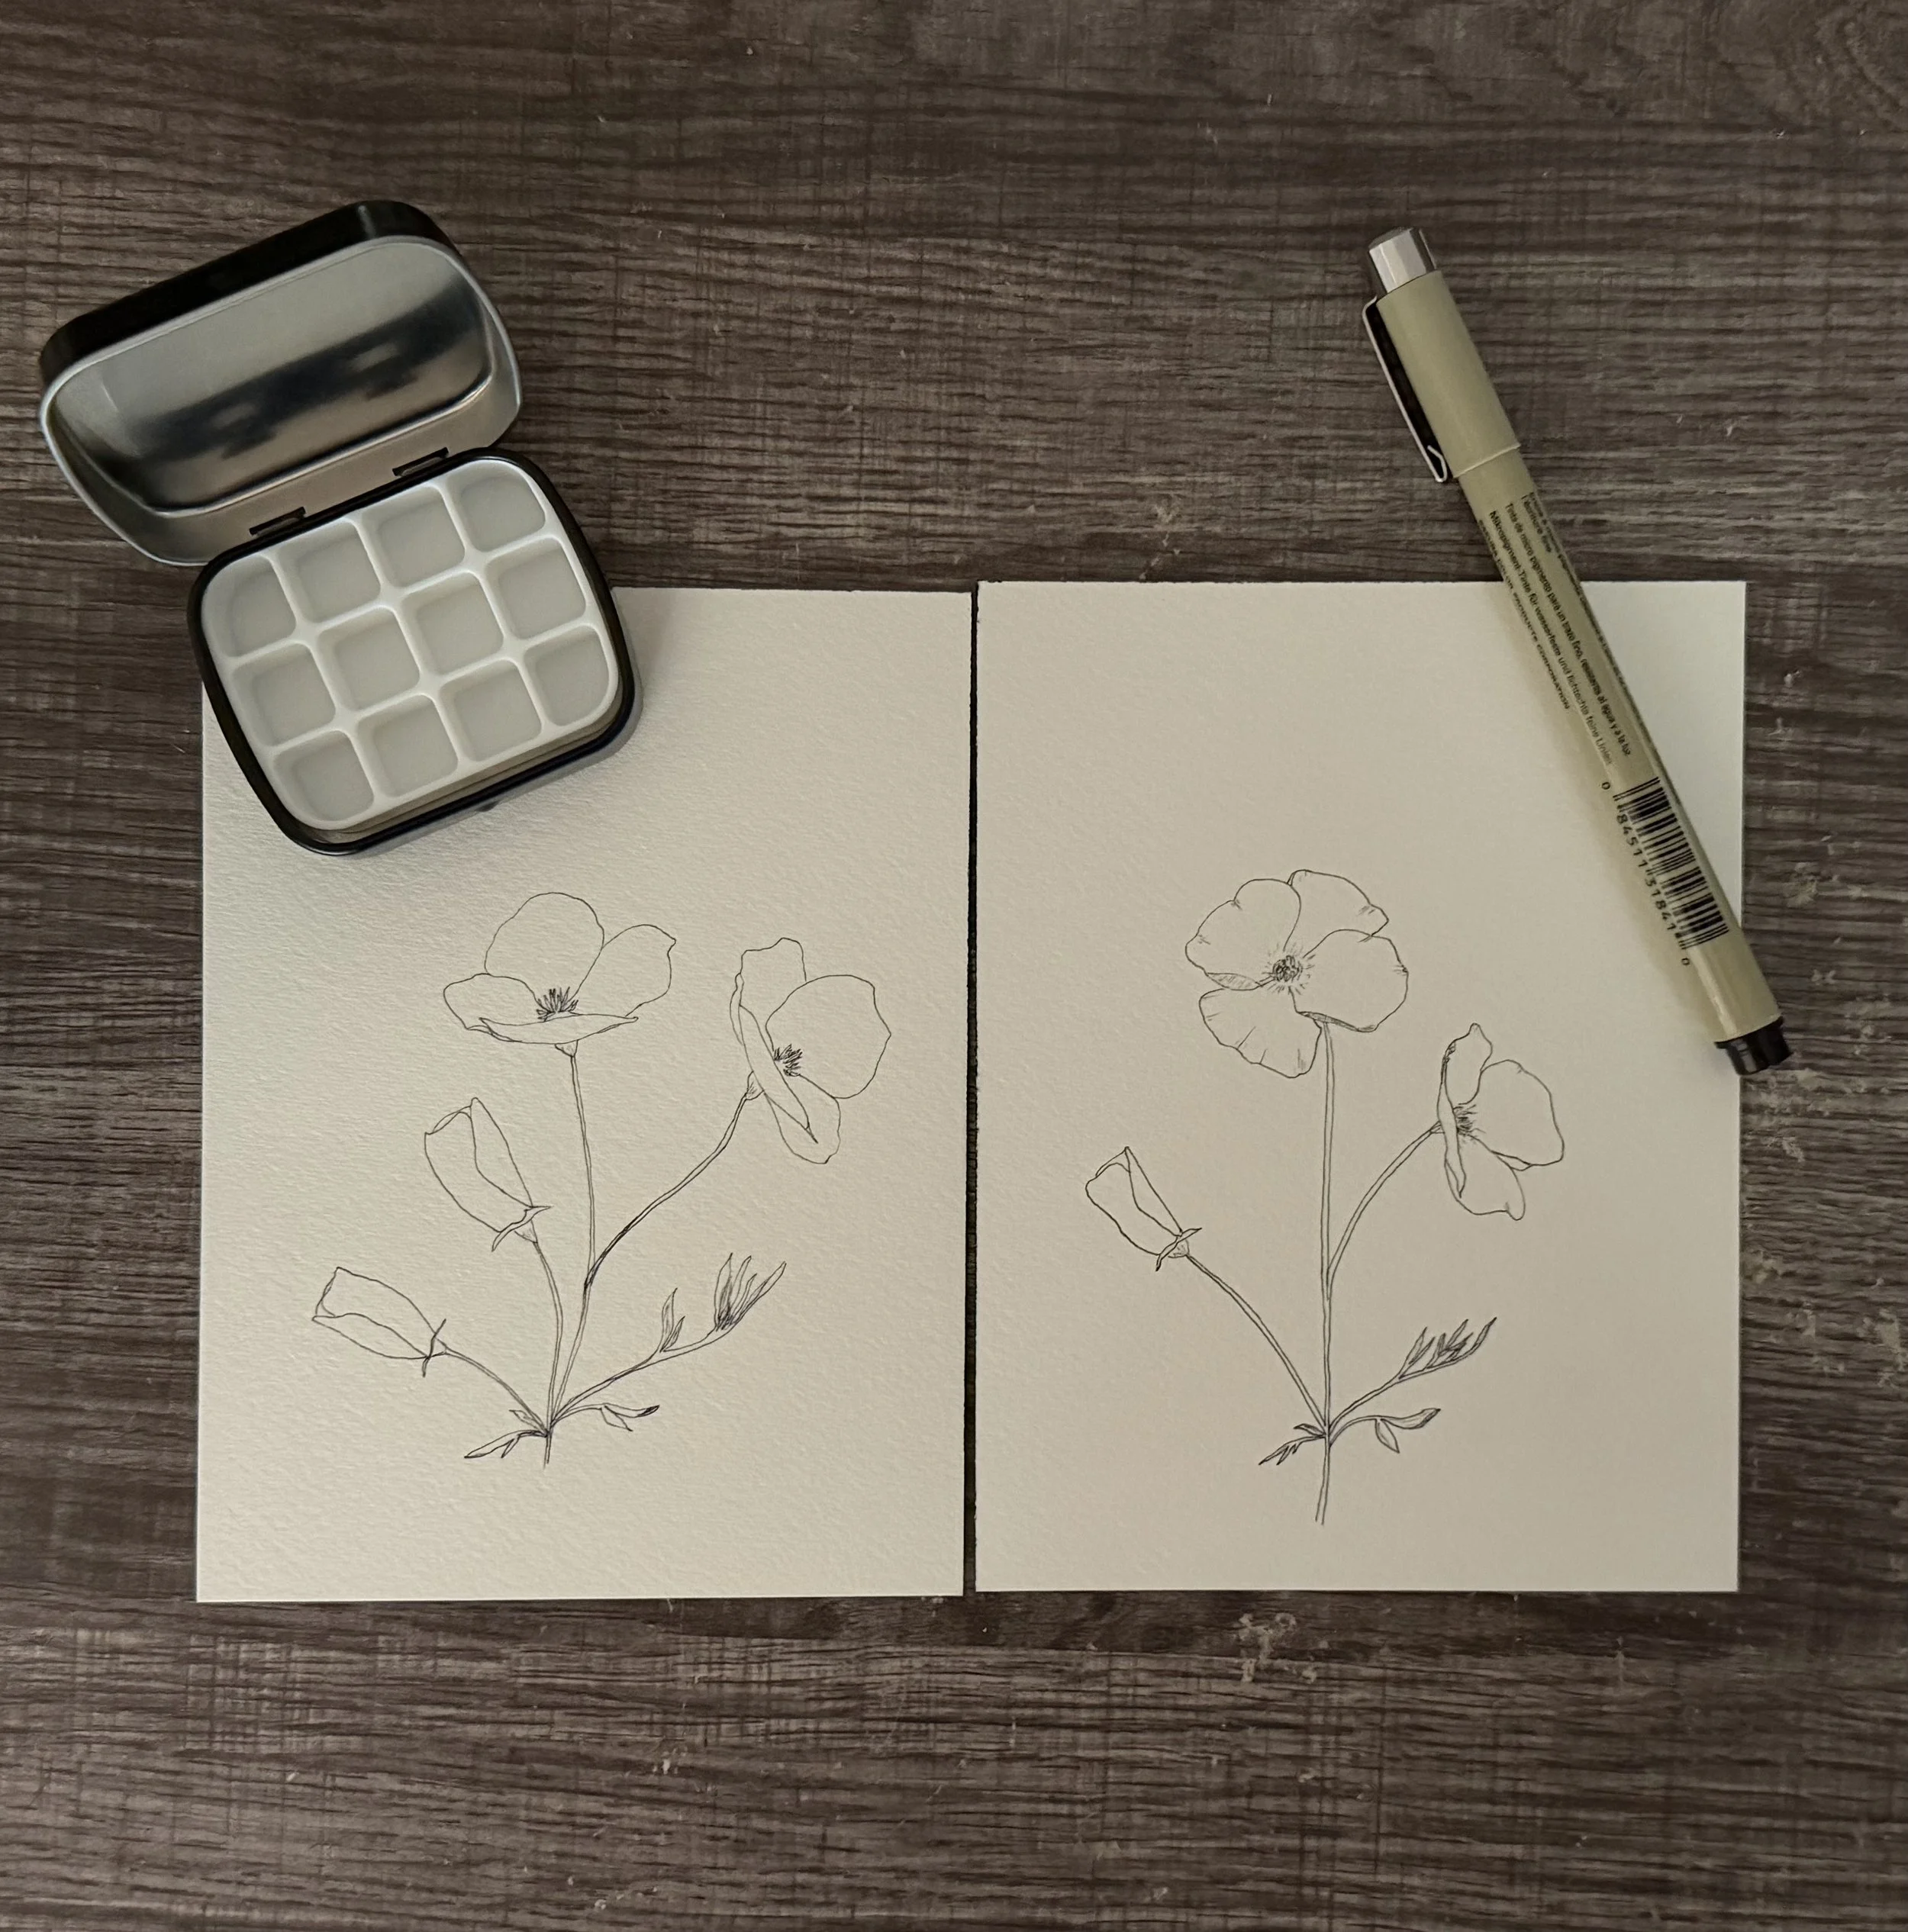
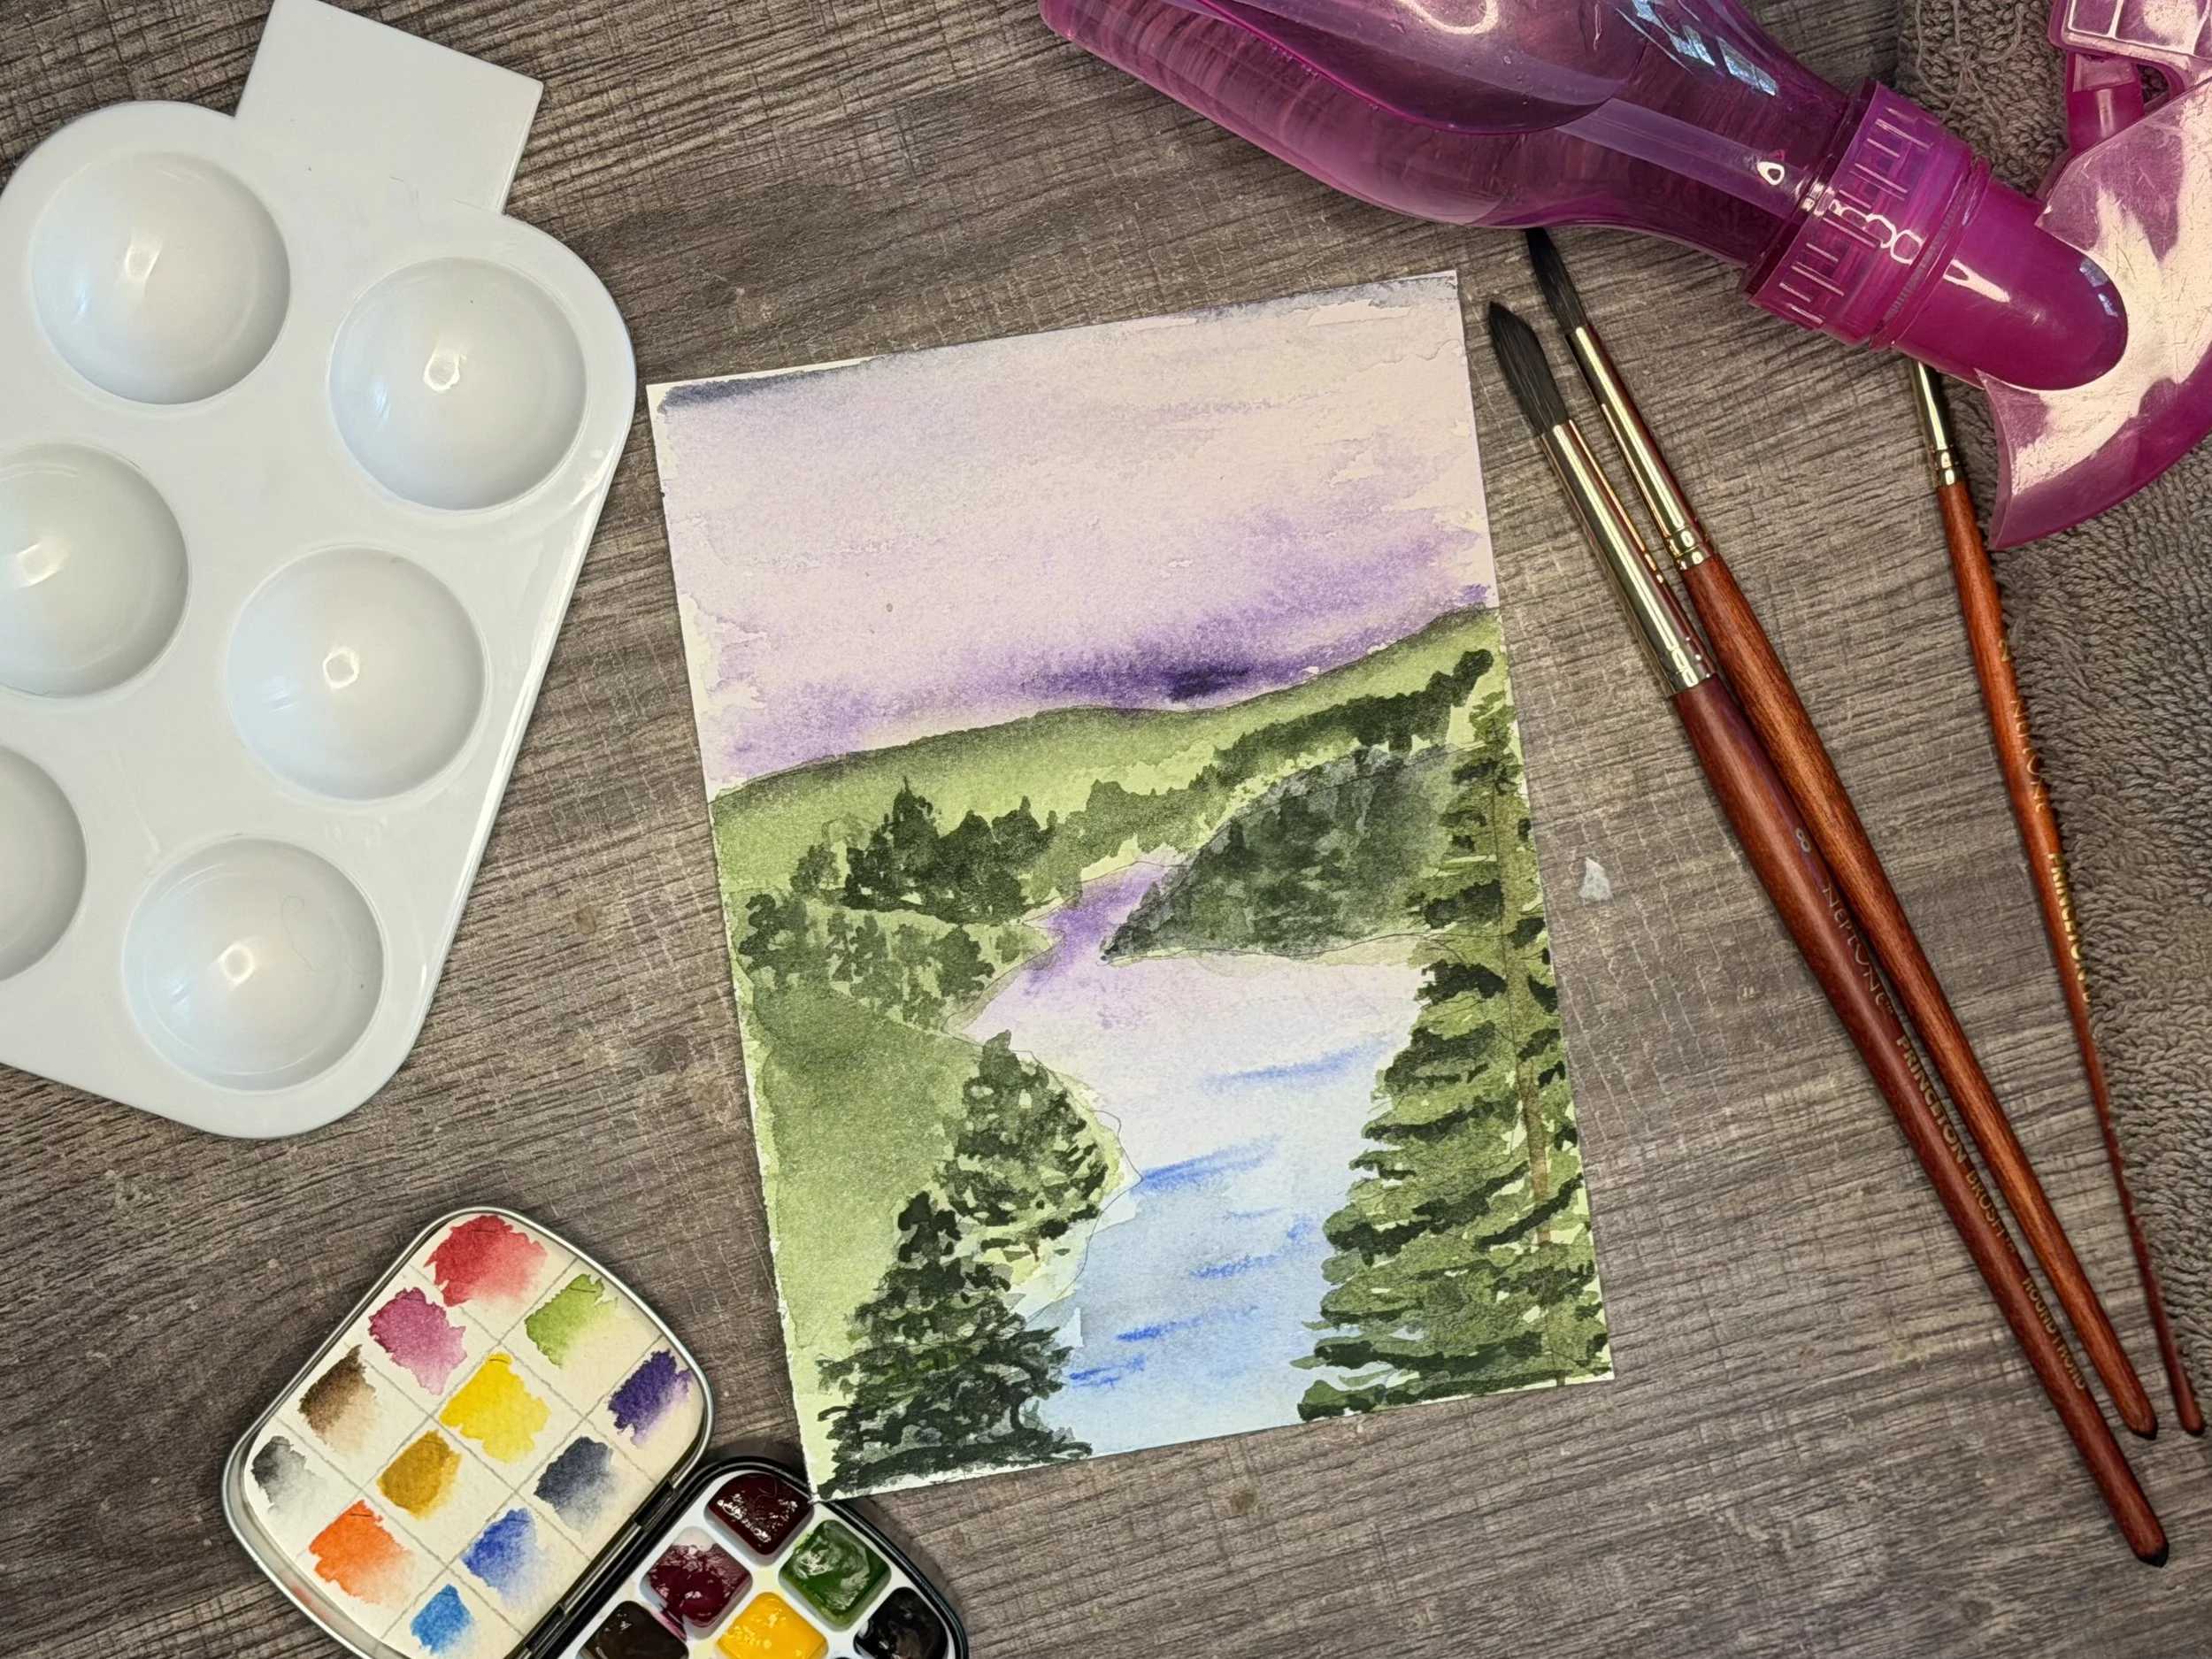
Getting started with a watercolor studio kit? Check out these detailed instructions tips and tricks for getting the most out of your watercolor experience!
Your kit includes two illustrations, a brush, and a paint palette (card or tin).
Recommended materials: Water (refresh often, two containers is a good idea to keep one “fresh”), paper towel, white plate or mixing tray
Getting started with watercolor!
Spritz the paint palette (the “pan”) to activate the colors, repeat as needed. A little paint goes a long way in watercolor. If you see color spilled across pans, you can use a damp paper towel to lift out the spill.

Activate the Paint
Pick Your Colors
Create washes in the shades you like by adding water to the mixing tray and transferring paint to the wells. More water means lighter and more translucent colors.
Wet on dry → paint from the wash or pan directly on dry paper (most control).
Wet on wet → paint clean water on the paper, add bits of pigment from the pan/washes to the water.
Patience is your friend, let paint dry before adding layers or painting nearby sections to avoid color bleeding and muddying.
Paint!
Preparing for Wet on Wet
Adding Color Wet on Wet
Adding Layers of Color
Lifting and Dropping Pigment
Use paper towel or a clean brush to pull up extra pigment from your paper and create highlights.
Lifting
Use paper towel and water to clean your brush and avoid accidental mixing. Dip your clean brush in clean water before picking up a new color. Use paper towel to control brush wetness.
Water and Paper Towel
Warping Paper
Excess water can lead to paper warping, pressing your painting under something heavy can help flatten it. It is also recommended to display watercolor in a frame to protect it from the elements. Framing also addresses the warping issue.